Whether you’re in plastic surgery, dermatology, or medical aesthetics, professional before and after photos are an opportunity to build trust with your online audience.
So, how do you take pictures for plastic surgery, dermatology, or other aesthetic treatments? We’ve put together medical photography tips so you can make the most of your before and after portfolio as a provider.
I’m breaking down what you should know to take consistent, high-quality before and after photos to drive business through your website, social media, and other digital marketing platforms.
Above all, be consistent when taking professional before and after photos.
We’ve all heard the phrase, “consistency is key.” Consistency is the priority above all else when taking professional before and after photos. If a user visits your website and sees results photos in all different settings, lighting situations, and resolutions, it doesn’t reflect well.
People want the professionals providing services to be consistent. It shows you are reliable, invested in your trade, and care about the results you provide.
With this in mind, let’s break down the different parameters to help you take the best, most effective before and after photos for your practice.
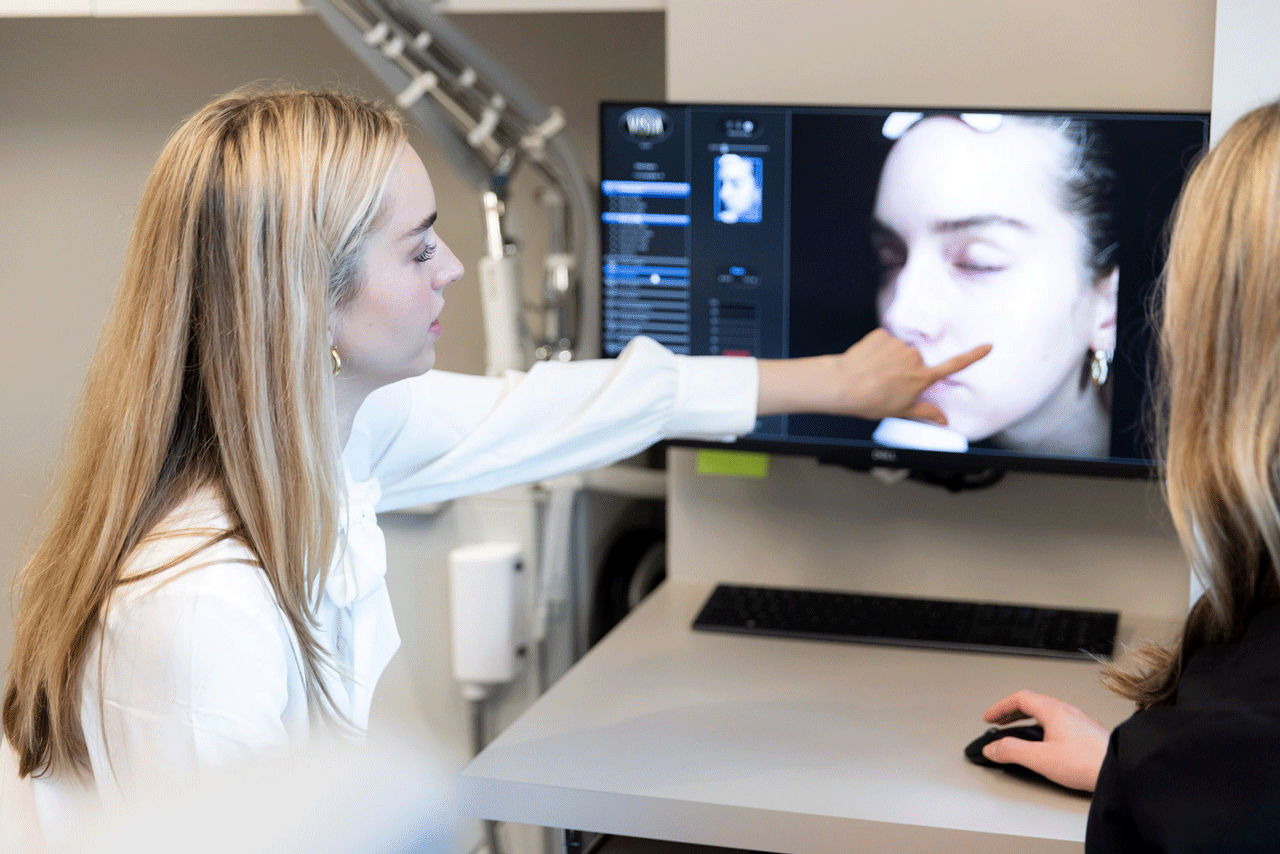
Have a dedicated before and after photo space in your practice.
It can be difficult for practices to make it easy and quick to take before and after photos. Step 1 is to choose a dedicated space in your office for taking these photos.
Find the right space
Once set up, this space should always be there, so you don’t need to take any time to set up every time you have a patient who is ready for before and after photos. This could even be in a closet if space allows!
Ideally, you do NOT want to rely on natural light (more on that later). For consistent photos, we recommend using a setup in a space with little to zero natural light.
The background of the space is also important. We recommend a dark background color for optimal contrast and exposure. A white background will not be as forgiving for exposure inconsistencies.
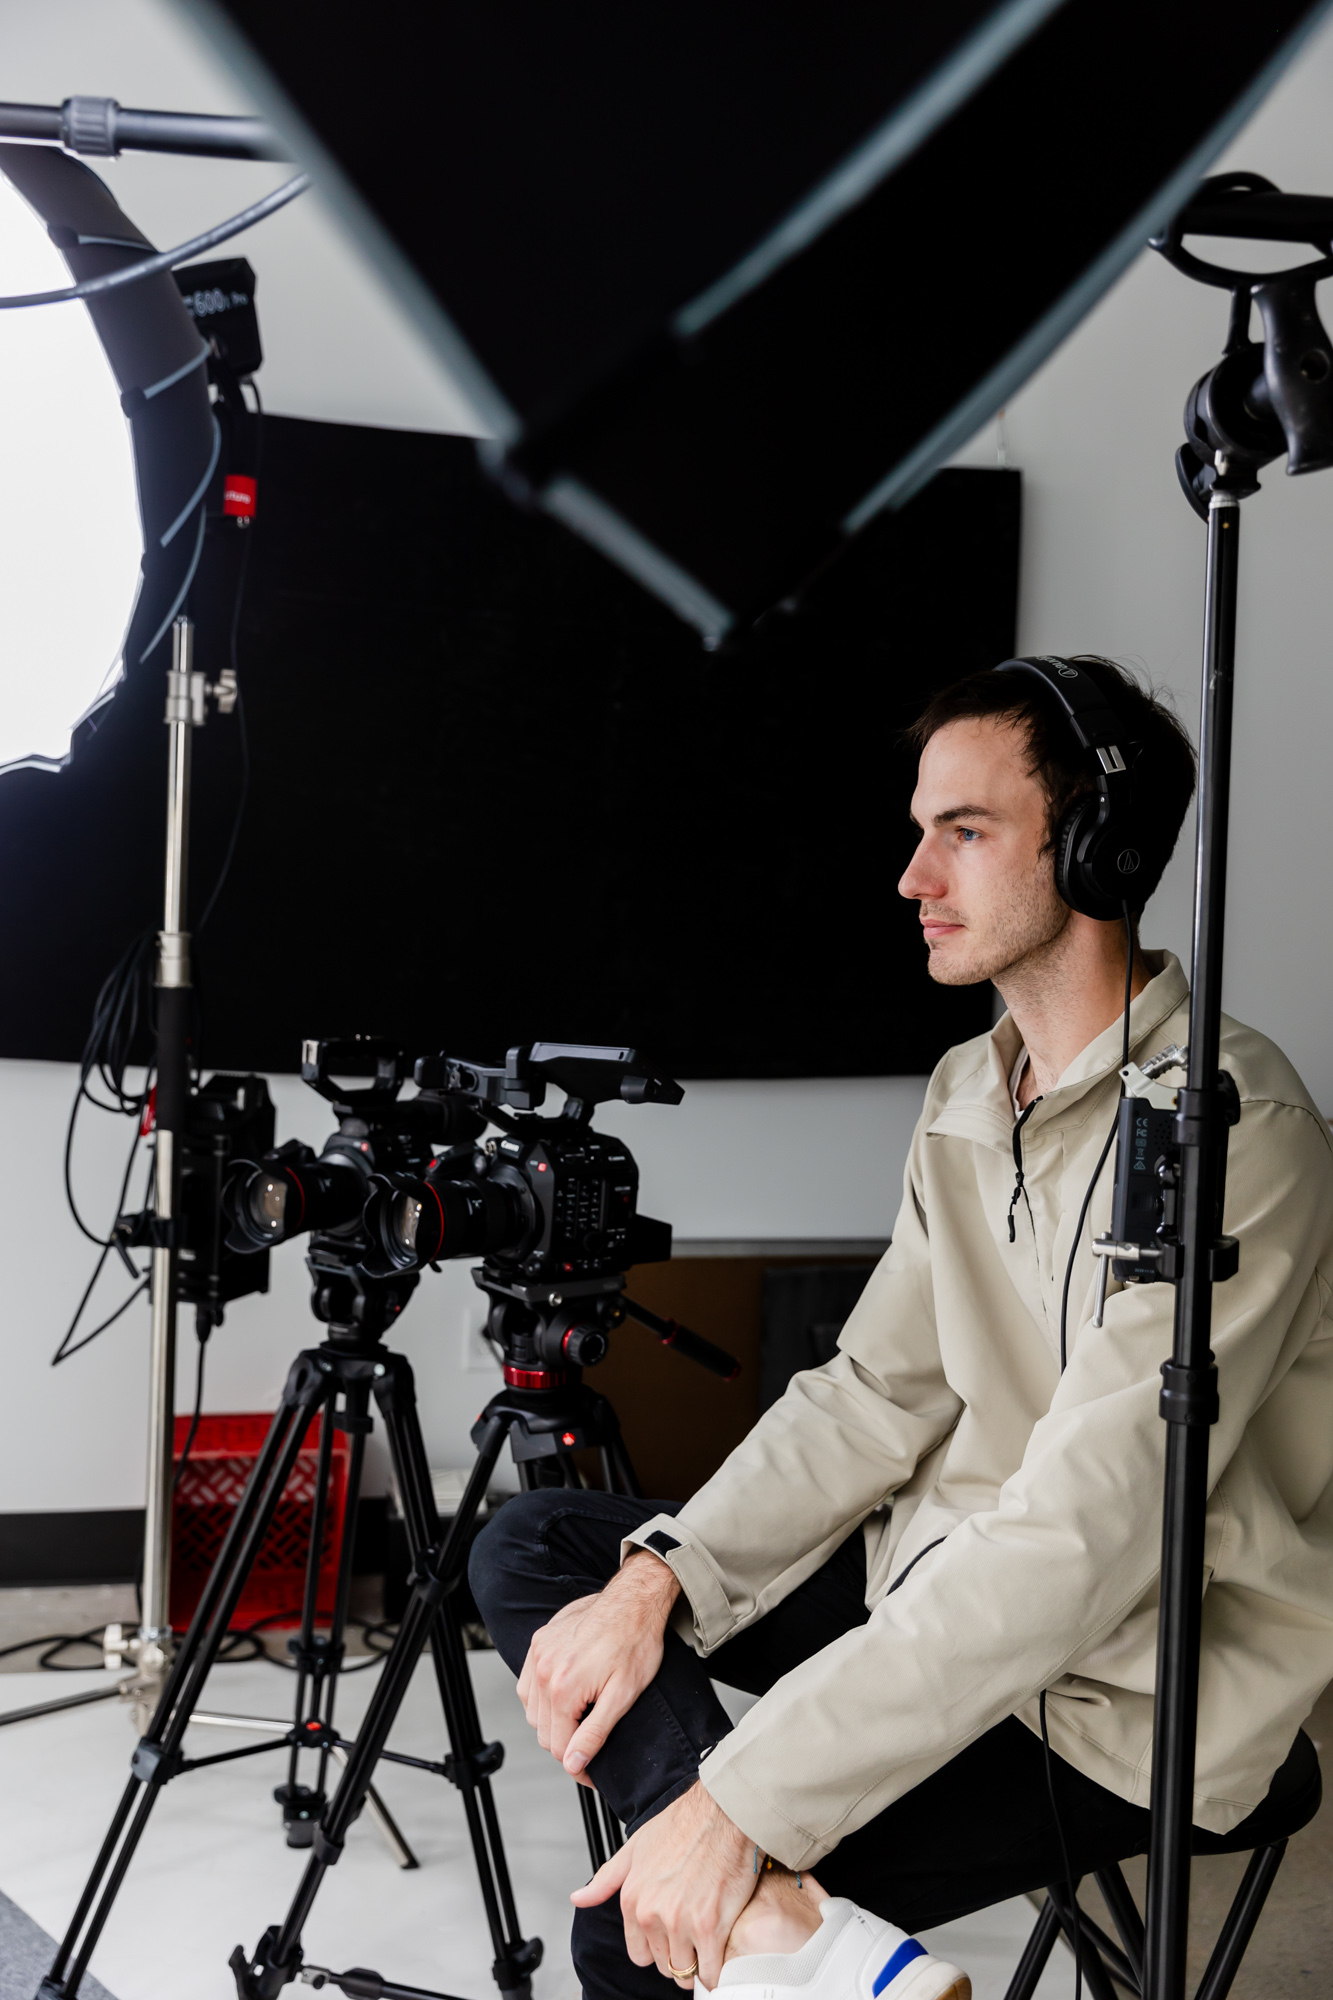
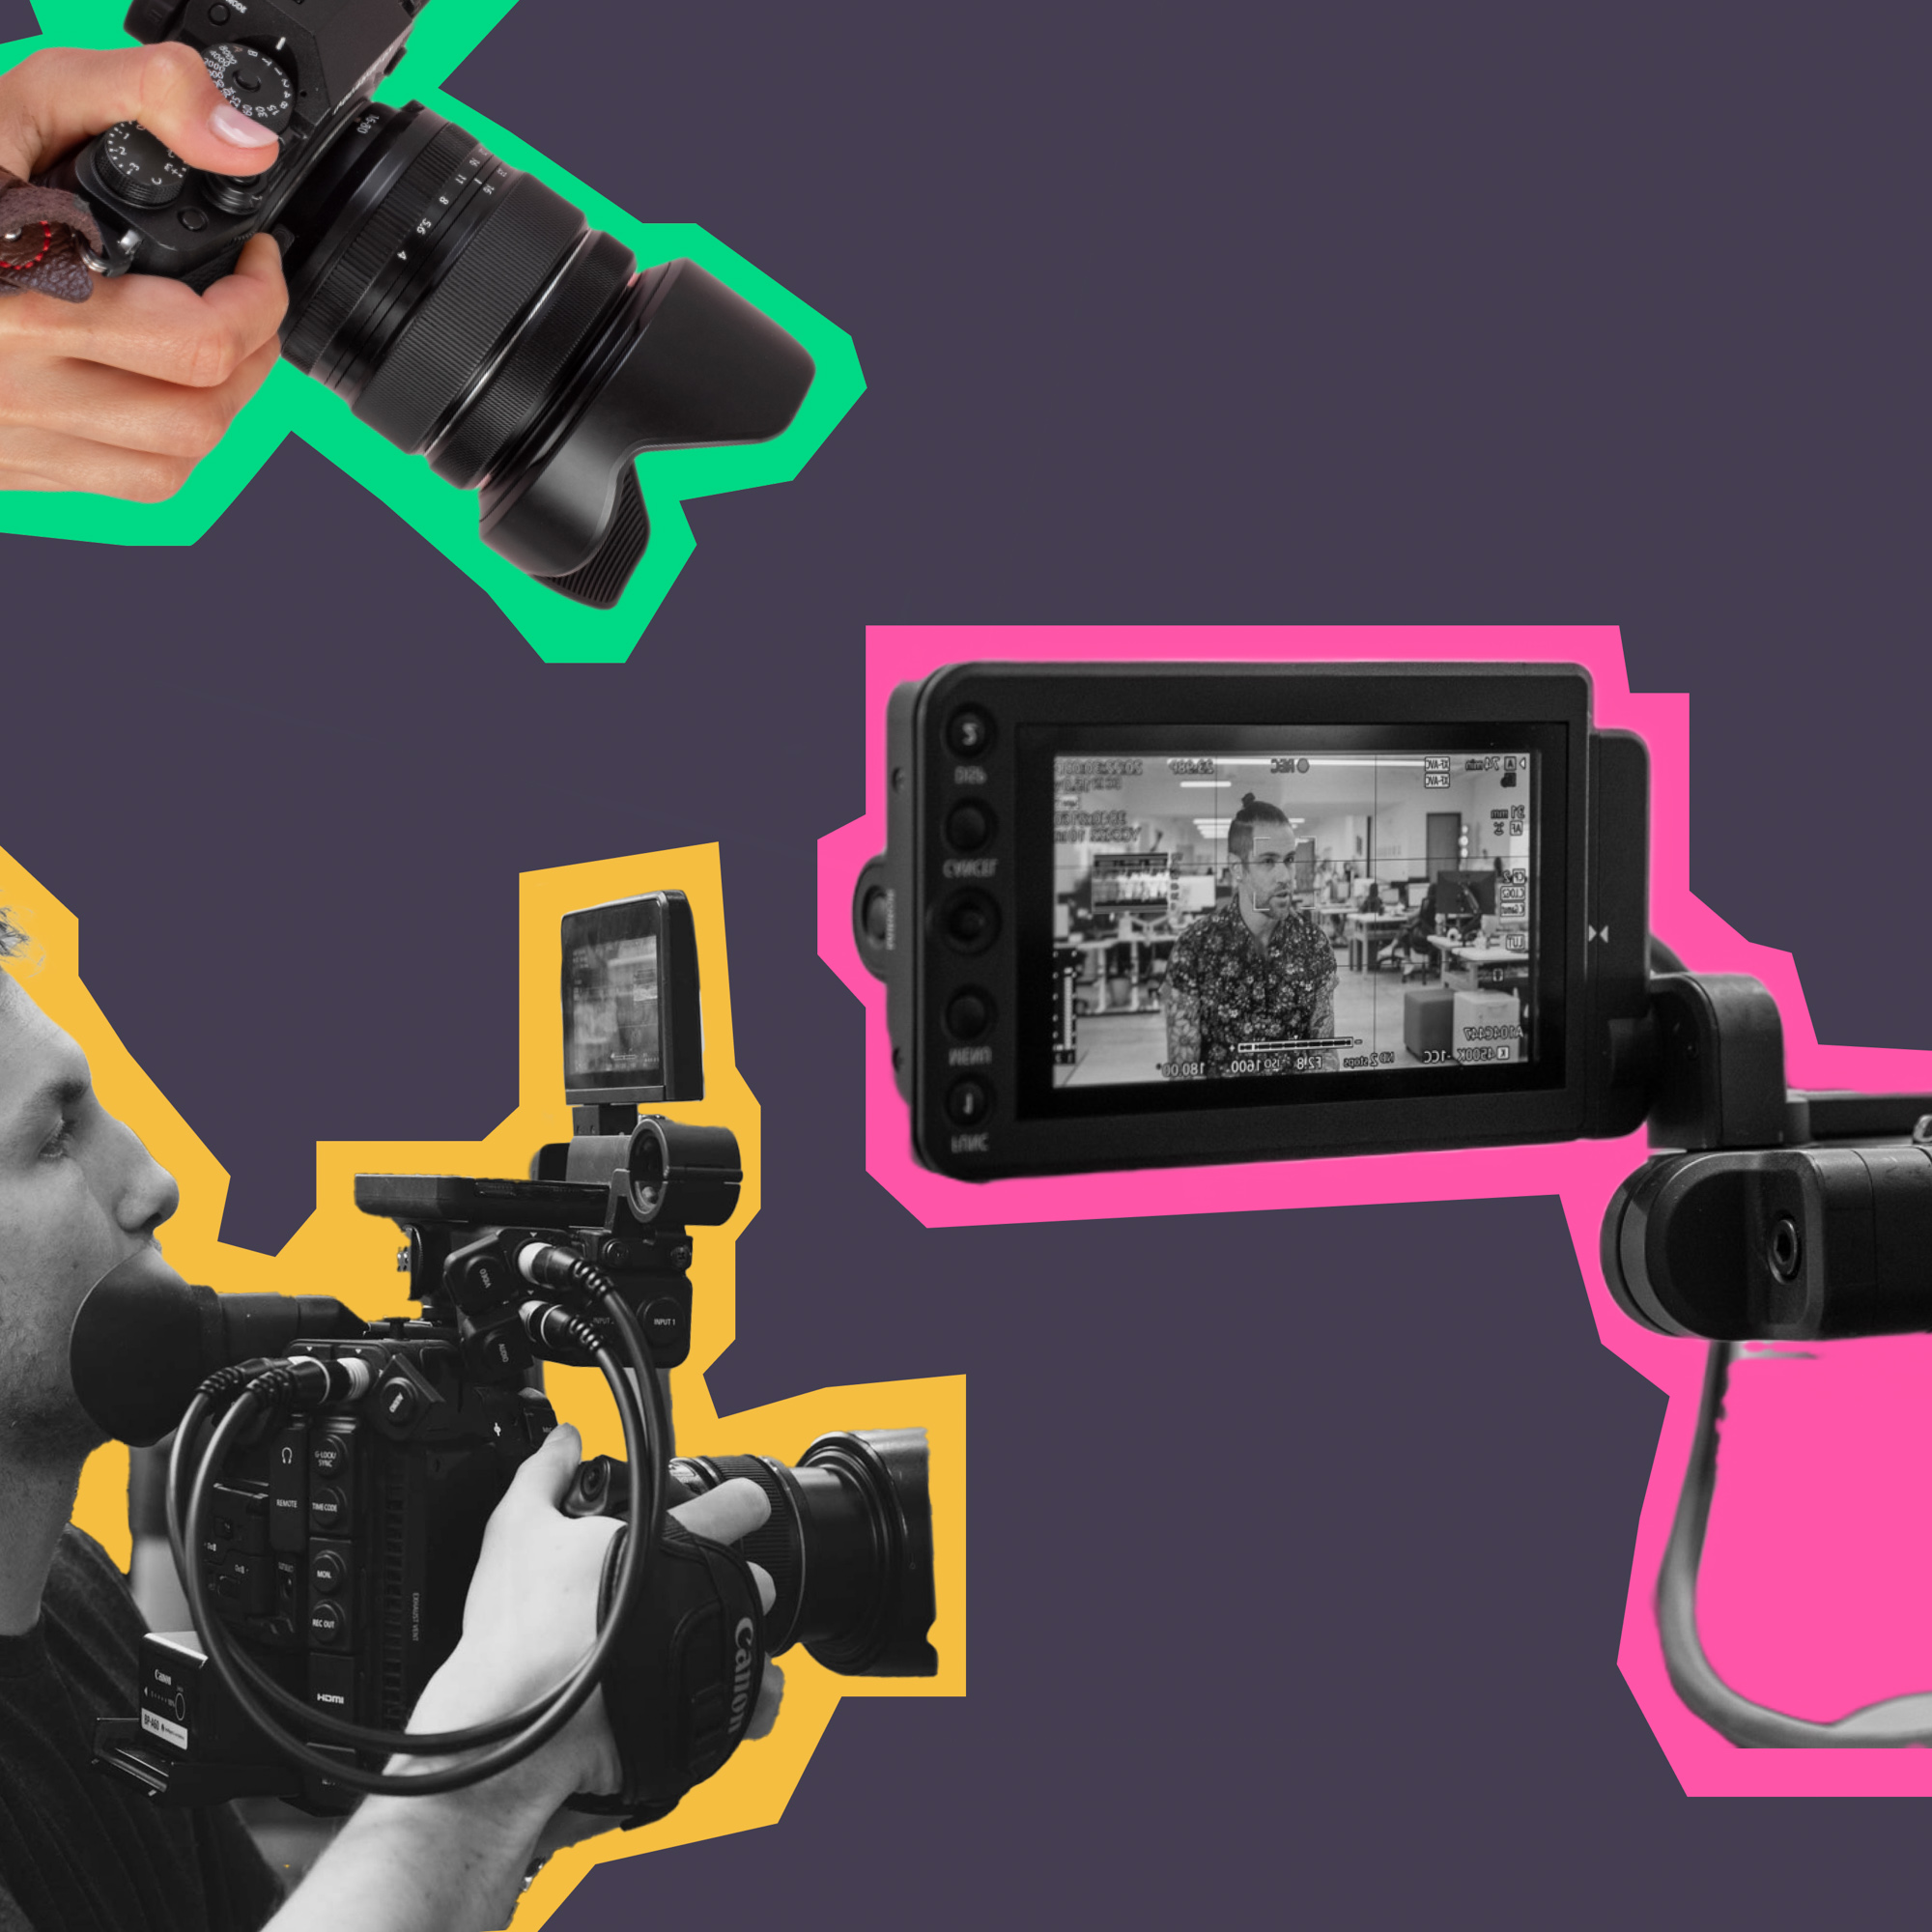
Choose a photography device
If possible, you should have one dedicated camera for your medical photography studio setup. This will make the process flow much easier, and of course, it makes the photos you take much more consistent than if you used different devices.
If you can’t be trusted to always use the same device, at least use the same device for each patient/client photo set 😉
For any device you use, I recommend using a tripod to keep a consistent setup and mark where the tripod goes; we often use colored tape on the floor for this. You can also mark preset heights on your tripod for different patient heights.
DSLR
Many people ask us, “what’s the best plastic surgery camera?” In our opinion, it’s a DSLR with a kit lens. This is an investment, but your before and after photos are an important asset for your business, so we believe it’s worth it.
Here are a few examples of equipment we would recommend for taking consistent, beautiful before-and-after photos:
Cameras
- Canon EOS 90D DSLR Camera with 18-135mm Lens
- Sony a6000 Mirrorless Camera with 16-50mm Lens
- Canon EOS Rebel SL3 DSLR Camera with 18-55mm Lens
Light kit
Tripod
Phone or tablet
If you’re not ready to purchase a DSLR, we recommend an iPhone, iPad, or other device with a high-quality camera.
Use the best lighting 💡
Okay, bear with us as we deep dive into lighting because it really is that important!
Natural light = bad
Though natural light can produce beautiful one-off photos, it’s also totally unpredictable and can vary depending on the time of day, weather, etc. It can really change the overall look of your image. You want to be able to take amazing before and after photos of your patients, rain or shine. Do not rely on natural light for your medical photography studio setup.
This is why a room with little to no natural light is great; you want to have control over the lighting to ensure all photos are consistently lit.
Consistent light = good
For the best before and after photo set, the lighting should be consistent. There are lighting kits you can buy. We recommend using 5600 kelvin, as this is daylight light.
We’ve seen some clients pay for a professional lighting person to come out and create the setup, which is also wonderful.
Basically, you want a consistent lighting setup where all you need to do is turn the lights on. This makes the photo-taking process much quicker and easier for everyone.
Take the photos
For photo taking, you should always center the subject as much as possible. It’s great to have markers on the floor to ensure the patients stand the same distance away from the tripod every time.
How to take before and after photos: face
For the face, the most natural photos will look best with a 50 millimeter lens. Use consistent tripod distance and height, center the subject, and snap away.
How to take before and after photos: body
For the body, it’s essentially the same. You may have to adjust your tripod height, but all other elements (tripod placement, subject placement, lighting) should stay the same.
You also get bonus points for providing garments for your patients when taking body before and after photos. Different clothing with different styles/fits can impact your results and show major inconsistencies. Disposable garments are worth the small investment for the best results.
Editing
When you’re taking a lot of professional before and after photos, it’s important to keep track of them and have the correct file size formatting.
Note: Editing should not include adding filters, airbrushing, or changing the composition of the before and after photos in any way.
Naming your before and after files
Use a file naming convention system that works for you, so it’s easy to tell the:
- Patient
- Treatment/procedure
- Which file is before and which is after
You also want the formatting to look nice and not cut off or distorted when publishing the photos to your website, social media, e-blasts, etc.
Formatting files
There are a lot of helpful programs to expedite the process and keep your formatting consistent. Many people use an app to:
- Ensure image quality/consistency
- Create before & after image collages
- Resize image files for the web
Our team uses Adobe Lightroom, which allows us to export a full file folder and change them to a smaller file size for easy uploading. There are other free apps out there, but they may only allow one image at a time, which could be time-consuming.
Examples of effective professional before and after photos
So now you know how to take professional before and after photos, but it’s always helpful to see examples! Here are a few of our favorites, courtesy of our ongoing marketing clients 😉
Plastic surgery before and after photos
Pearlman Aesthetic Surgery
Located on Park Avenue in New York City, Pearlman Aesthetic Surgery is led by Dr. Pearlman, a renowned, double-board certified facial plastic surgeon.
Their team has plastic surgery photography equipment and setup to keep their photos as consistent as possible, and it shows!
Here to help you take professional before and after photos to drive your business
Lifted Logic has worked with medical practices, plastic surgeons, dermatologists, and medical aesthetics providers to build beautiful custom websites with powerful SEO and engaging web design, photography, videography and more.
Our years working in these industries have taught us that one of the most powerful tools for these businesses is professional before and after photos. If you want to learn more about taking the most effective results photos for your business, reach out. We’re happy to share our knowledge and help you improve your digital presence.

Weston Vitt, Lead Videographer
With a background in event photography, audio engineering/sound mixing, podcast structure and marketing, and brewing beer, Wes is the Lead Videographer & Photographer here at Lifted Logic. His focus on visual and brand storytelling makes him an ideal media collaborator, no matter the client's industry.